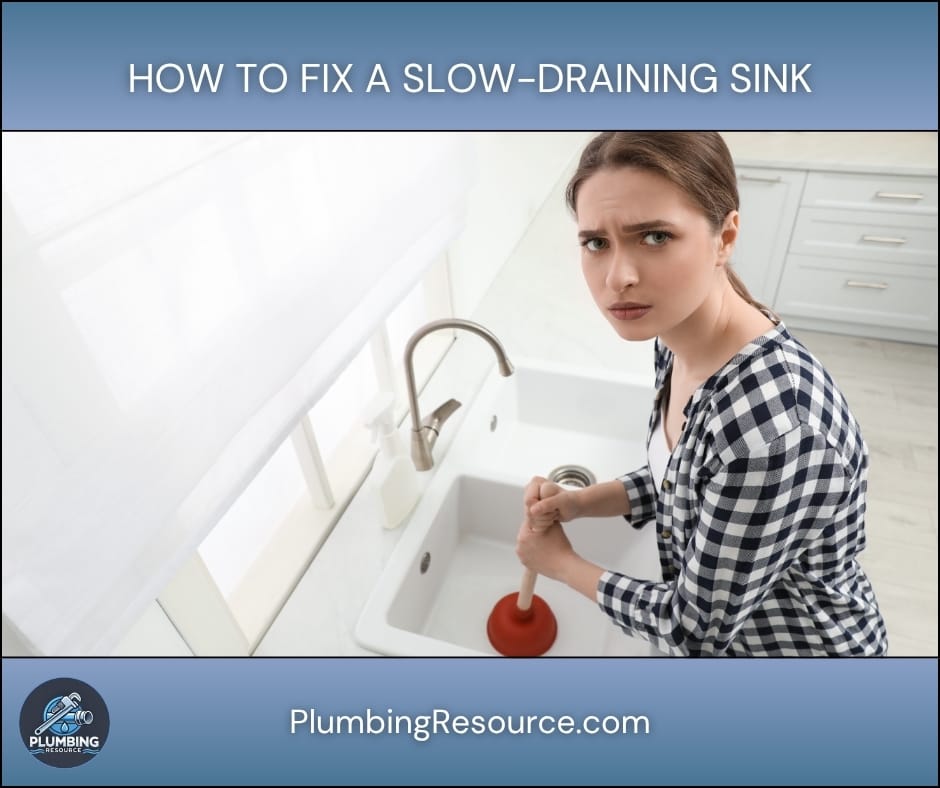
A slow sink can quickly become frustrating. Fortunately, learning how to fix a slow draining sink is easier than most homeowners expect. In many cases, hair, grease, soap buildup, or food debris causes the blockage. Therefore, with the right tools and methods, you can restore proper drainage without hiring a plumber.
Moreover, fixing the issue early helps prevent backups, foul odors, and pipe damage. This guide explains exactly how to fix a slow draining sink step by step using professional plumbing techniques.
🔍 Understanding the Project
A slow draining sink usually develops because debris collects inside the drain line over time. For example, bathroom sinks often clog from hair, toothpaste, and soap scum. However, kitchen sinks commonly clog from grease, food particles, and sludge buildup.
As buildup increases, water moves slower through the pipe. Eventually, the drain may stop completely. In addition, trapped debris can create foul odors and bacteria growth inside the plumbing system.
Common warning signs include:
- Water draining slowly
- Gurgling noises
- Standing water around the drain
- Bad odors coming from the sink
- Water backing up into another sink
Ignoring the problem can lead to complete drain blockages, leaks, or pipe damage. Therefore, addressing the issue early helps avoid expensive repairs later.
🧰 Tools & Materials
Before you begin, gather these tools and supplies:
- Rubber gloves
- Bucket
- Towels or rags
- Flashlight
- Sink plunger
- Drain snake or drain weasel
- Adjustable pliers
- Screwdriver
- Dish soap
- Hot water
- Baking soda
- White vinegar
- Old toothbrush
- Replacement slip-joint washers (optional)
🛠️ Step-by-Step Guide: How To Fix a Slow-Draining Sink
1️⃣ Remove Standing Water
First, remove any standing water from the sink. You can use a cup, bowl, or wet vacuum. This step gives you better access to the drain opening.
Next, inspect the drain closely with a flashlight. Often, you can immediately spot hair, soap scum, grease, or food buildup near the surface.
2️⃣ Clean the Sink Stopper
One of the most common causes of a slow drain is buildup around the stopper.
Bathroom Sink
Pull the pop-up stopper upward. Then, remove any hair or debris attached to it.
If the stopper will not lift out, look underneath the sink. You may need to disconnect the pivot rod first.
Kitchen Sink
Remove the basket strainer or drain cover. Then, scrub away grease and food residue.
Afterward, rinse the parts thoroughly with hot water.
3️⃣ Flush the Drain With Hot Water
Next, slowly pour hot water down the drain for several minutes.
Hot water helps loosen:
- Soap scum
- Toothpaste residue
- Grease buildup
- Light sludge accumulation
However, avoid boiling water if you have PVC pipes. Extremely hot water can weaken some plastic fittings over time.
4️⃣ Use Baking Soda and Vinegar
If the sink still drains slowly, try a natural cleaning method.
Instructions
- Pour 1 cup of baking soda into the drain.
- Then, pour 1 cup of white vinegar afterward.
- Allow the mixture to foam for 10–15 minutes.
- Finally, flush the drain with hot water.
This method helps break down mild organic buildup. However, it may not clear heavy clogs.
5️⃣ Plunge the Sink Properly
Many homeowners plunge incorrectly. Therefore, using the right method matters.
How To Plunge a Sink
- Fill the sink with a few inches of water.
- Block the overflow opening with a wet rag.
- Place the plunger directly over the drain.
- Then, plunge firmly for 15–20 seconds.
Afterward, remove the plunger and test the drainage.
If water drains quickly, the clog likely broke loose.
6️⃣ Remove and Clean the P-Trap
If the clog remains, the blockage may be inside the P-trap.
The P-trap is the curved pipe underneath the sink. Because debris collects there frequently, cleaning it often solves the problem.
How To Remove the P-Trap
- Place a bucket underneath the trap.
- Loosen the slip nuts carefully.
- Remove the curved section slowly.
- Dump the contents into the bucket.
- Then, scrub the inside thoroughly.
Hair, grease, sludge, and food particles commonly collect inside this section.
Finally, reinstall the trap and test the sink again.
7️⃣ Snake the Drain Line
If cleaning the P-trap does not work, the clog may be deeper inside the pipe.
Therefore, the next step is using a drain snake.
How To Snake the Drain
- Insert the snake into the drain opening or trap arm.
- Rotate the handle clockwise while pushing forward slowly.
- When you feel resistance, continue rotating carefully.
- Pull the snake back out slowly.
- Remove debris from the cable.
Repeat the process until the drain clears fully.
8️⃣ Check the Garbage Disposal
If your kitchen sink has a garbage disposal, it may contribute to the slow drainage.
Common Disposal Problems
- Grease buildup
- Food sludge
- Jammed impellers
- Clogged discharge pipe
Run cold water while operating the disposal for 30 seconds. Then, test the sink again.
Additionally, inspect the rubber splash guard because debris often collects underneath it.
⚠️ Common Mistakes
Avoid these common errors:
- Using harsh chemical drain cleaners repeatedly ⚠️
- Pouring grease into kitchen drains
- Forgetting to block the sink overflow while plunging
- Overtightening plastic plumbing fittings
- Ignoring recurring slow drainage
- Using boiling water on PVC piping
💡 Pro Tips
- Flush drains weekly with hot water 💧
- Install drain strainers to catch debris
- Avoid washing grease into kitchen drains 🍳
- Clean sink stoppers monthly
- Use enzyme drain cleaners for maintenance
Additionally, regular maintenance helps prevent future clogs and improves drain performance.
🔧 Troubleshooting
Sink Still Drains Slowly
The clog may be farther inside the branch drain or main line. Therefore, additional snaking may be necessary.
Water Backs Up Into Another Sink
This problem usually indicates a shared drain blockage. In many cases, professional drain cleaning becomes necessary.
Sink Gurgles While Draining
Gurgling often points to a venting issue or partial blockage deeper inside the plumbing system.
Bad Odors Continue
Persistent odors usually mean debris remains trapped inside the drain line or overflow channel.
👨🏻🔧 When to Call a Professional
Sometimes DIY methods are not enough.
Call a licensed plumber if:
- Multiple fixtures drain slowly
- Water backs up repeatedly
- The clog returns quickly
- You smell sewer gas 🚨
- Pipes leak after reassembly
- The drain line requires professional snaking
Additionally, older homes with cast iron piping may require camera inspections or hydro jetting.
❓ FAQ
How do you fix a slow draining sink naturally?
You can use baking soda, vinegar, and hot water to break down mild buildup naturally. However, severe clogs usually require mechanical cleaning.
What causes a slow draining bathroom sink?
Hair, toothpaste residue, soap scum, and biofilm commonly cause bathroom sink clogs.
How do you fix a slow draining kitchen sink?
First, clean the strainer and P-trap. Then, use a plunger or drain snake if necessary.
Can a slow draining sink fix itself?
No. In fact, slow drains usually worsen because debris continues accumulating inside the pipe.
Is a slow draining sink serious?
It can become serious if ignored. Eventually, the blockage may cause backups, leaks, or pipe damage.
✅ Conclusion
Learning how to fix a slow draining sink can save time, money, and frustration. Fortunately, most slow drains result from common buildup issues that homeowners can fix themselves. Therefore, by following these step-by-step methods and performing regular maintenance, you can keep your sink draining properly and avoid costly plumbing repairs.
👋🏼 Before You Go…
If this guide helped you fix your sink, then save it for future reference. Also, share it with someone dealing with a clogged drain.
And if you want more expert plumbing tips, check out more guides on your site to stay ahead of costly problems.