A slow or blocked bathtub drain can quickly become frustrating. Fortunately, learning How To Unclog a Bathtub Drain can help you restore proper drainage without immediately calling a plumber. In many cases, hair, soap scum, and debris create the blockage. Therefore, using the correct method can save both time and money.
This guide walks you through every step in detail. In addition, you will learn multiple unclogging methods, common mistakes to avoid, and ways to prevent future clogs.
🔍 Understanding the Project
Bathtub drains clog because debris slowly builds inside the drain pipe. Hair is usually the biggest problem. However, soap scum, dirt, oils, and bath products also contribute to the blockage.
Over time, these materials stick to the pipe walls. Then, additional debris attaches to the buildup and restricts water flow. Eventually, the bathtub drains slowly or stops draining entirely.
Common warning signs include:
- Standing water around your feet while showering
- Slow drainage
- Gurgling noises
- Bad odors from the drain
- Water backing up into the tub
Ignoring a clog can create larger plumbing problems. For example, pressure buildup may eventually affect nearby drains. In severe cases, recurring clogs can indicate deeper drain line issues.
Understanding the cause helps you choose the correct unclogging method safely and effectively.
🧰 Tools & Materials
Before you begin, gather the proper tools and supplies.
🔧 Basic Tools
🪠 Drain Cleaning Tools
🧽 Cleaning Supplies
- Baking soda
- White vinegar
- Hot water
- Enzyme drain cleaner
🛠️ Step-by-Step Guide: How To Unclog a Bathtub Drain
1️⃣ Remove the Drain Stopper
First, remove the bathtub stopper so you can access the clog directly.
Different tubs use different stopper styles. Therefore, inspect the drain before removing anything.
Common Stopper Types
- Lift-and-turn
- Toe-touch
- Push-pull
- Trip lever
- Pop-up
Most stoppers either unscrew or lift out after removing a small screw.
Use a screwdriver carefully. In addition, place removed parts somewhere safe so they do not fall into the drain.
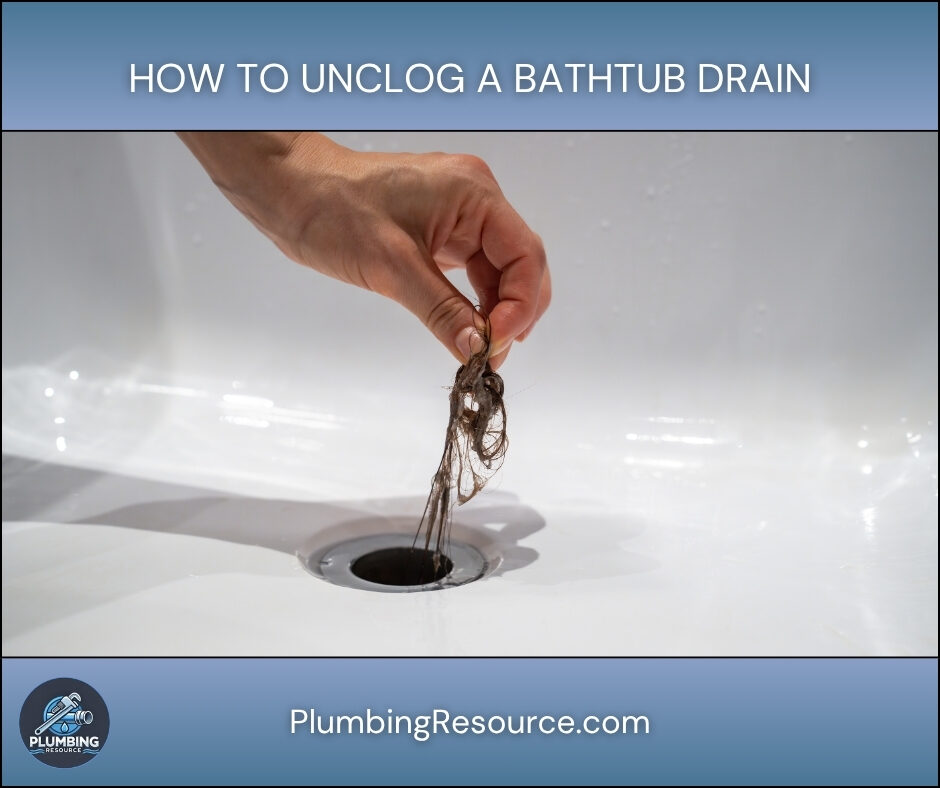
2️⃣ Remove Visible Hair and Debris
Next, shine a flashlight into the drain opening.
If you see hair or debris near the top, remove it manually.
Best Removal Methods
- Needle-nose pliers
- Plastic drain stick
- Bent wire hook
Pull debris slowly because large clumps can break apart and fall deeper into the pipe.
This step alone often restores proper drainage.
3️⃣ Flush the Drain With Hot Water
After removing visible debris, flush the drain with hot water.
Hot water helps soften soap scum and grease buildup. However, avoid boiling water if your plumbing uses PVC pipes.
Run hot water for several minutes. Then, test the drain speed.
If water still drains slowly, continue to the next step.
4️⃣ Use Baking Soda and Vinegar
This natural method works well for light clogs and buildup.
Instructions
- Pour 1 cup of baking soda into the drain.
- Next, pour 1 cup of white vinegar into the drain.
- Allow the mixture to foam for 15 minutes.
- Finally, flush the drain with hot water.
The reaction helps break apart residue inside the pipe.
However, severe clogs usually require mechanical removal.
5️⃣ Plunge the Bathtub Drain
Many homeowners forget one important detail when plunging a tub drain.
You must seal the overflow opening first.
How To Plunge Correctly
- Cover the overflow opening with a wet rag.
- Add a few inches of water to the tub.
- Place the plunger directly over the drain.
- Push and pull firmly for 20–30 seconds.
- Remove the plunger and test drainage.
Because air escapes through the overflow opening, sealing it creates stronger suction.
6️⃣ Use a Drain Snake
If the clog remains, use a drain snake or hand auger.
This is one of the most effective ways to learn how to unclog a bathtub drain properly.
How To Snake the Drain
- Insert the cable slowly into the drain.
- Rotate the handle clockwise.
- Continue feeding the cable until resistance appears.
- Twist the snake to break apart the clog.
- Pull the cable out carefully.
- Flush the drain with hot water.
Hair clogs usually attach to the snake during removal.
Clean the cable immediately afterward.
7️⃣ Clean the Overflow Assembly
Some bathtub clogs collect inside the overflow assembly.
Therefore, remove the overflow plate if drainage problems continue.
Cleaning the Overflow
- Remove the screws carefully
- Pull out the linkage assembly
- Clean off hair and sludge
- Reinstall the assembly securely
This area often traps hidden buildup.
8️⃣ Test the Drain Thoroughly
Finally, run water through the bathtub for several minutes.
Check for:
- Fast drainage
- Gurgling sounds
- Standing water
- Leaks around the overflow plate
If the tub drains normally, the clog has been removed successfully.
⚠️ Common Mistakes
Avoid these common drain cleaning mistakes:
- Using excessive chemical drain cleaners
- Pouring boiling water into PVC pipes
- Forgetting to seal the overflow while plunging
- Forcing a drain snake aggressively
- Ignoring recurring slow drainage
- Leaving debris inside the overflow assembly
Chemical cleaners may damage older pipes over time. Therefore, mechanical cleaning methods are usually safer.
💡 Pro Tips
- Install a hair catcher to prevent future clogs.
- Flush the drain weekly with hot water.
- Clean the stopper regularly because buildup forms quickly.
- Use enzyme drain cleaners monthly for maintenance.
- Wear gloves because drain debris contains bacteria.
- Keep a small hand auger at home for quick repairs.
Regular maintenance prevents major blockages later.
🔧 Troubleshooting
The Drain Is Still Slow
The blockage may sit deeper inside the drain line. Therefore, use a longer drain snake or hand auger.
Water Backs Up Into Other Fixtures
This issue may indicate a larger sewer line blockage rather than a bathtub clog.
The Drain Smells Bad
Odors often come from trapped organic material inside the pipe. Therefore, clean the overflow assembly and flush the drain thoroughly.
The Drain Snake Will Not Advance
The snake may be hitting a tight bend or pipe fitting. Pull back slightly, then rotate the cable slowly while advancing.
The Tub Keeps Clogging
Recurring clogs usually indicate heavy buildup deeper in the pipe system.
👨🏻🔧 When to Call a Professional
Sometimes professional service becomes necessary.
Call a licensed plumber if:
- Multiple drains back up
- Water leaks beneath the tub
- The drain remains clogged after snaking
- Sewage odors appear regularly
- Water backs up quickly after cleaning
- You suspect pipe damage
Professional plumbers use advanced equipment for deeper blockages safely.
❓ FAQ
How To Unclog a Bathtub Drain without chemicals?
You can use a drain snake, plunger, plastic drain tool, baking soda, and vinegar to clear most clogs safely.
What is the best tool for How To Unclog a Bathtub Drain?
A hand auger or drain snake is usually the most effective tool because it physically removes hair and debris.
Why does my bathtub drain clog repeatedly?
Recurring clogs usually happen because hair and soap buildup remain inside the pipe after partial cleaning.
Can boiling water damage bathtub pipes?
Yes, boiling water may damage PVC plumbing. Therefore, use hot tap water instead.
How long does it take to unclog a bathtub drain?
Most bathtub drain clogs can be cleared within 30 to 60 minutes using proper tools and methods.
✅ Conclusion
Learning How To Unclog a Bathtub Drain helps you solve one of the most common household plumbing problems quickly and safely. By following these step-by-step methods, you can remove hair, soap scum, and debris while protecting your plumbing system. In addition, regular maintenance can help prevent future clogs and improve long-term drain performance.
👋🏼 Before You Go…
If this guide helped you fix your sink, then save it for future reference. Also, share it with someone dealing with a clogged drain.
And if you want more expert plumbing tips, check out more guides on your site to stay ahead of costly problems.


