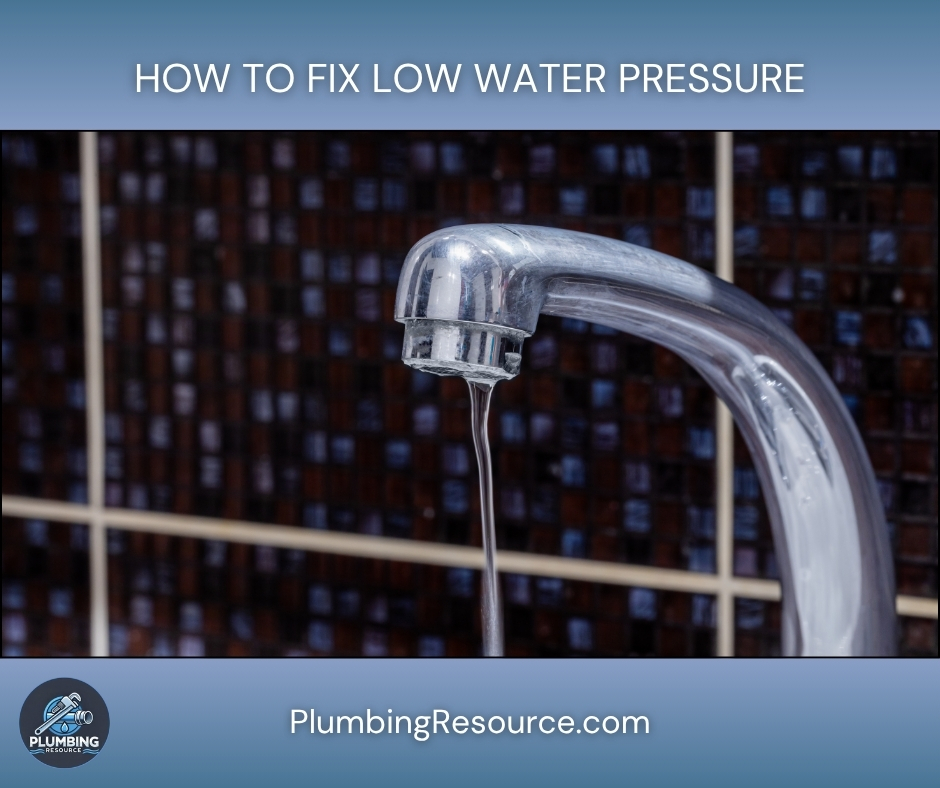
Low water pressure can be one of the most frustrating plumbing problems to deal with. Whether it’s a weak shower stream, slow-filling sink, or sluggish washing machine, poor water flow can make everyday tasks tedious. Fortunately, with a systematic approach, you can diagnose and often fix low water pressure on your own. In this guide, we’ll explore every possible cause, provide clear steps for diagnosing the issue, and walk you through solutions for each scenario.
Step 1: Identify Where the Low Water Pressure Is Occurring
Before you start taking things apart, determine whether the problem is isolated or widespread.
- Check all faucets and fixtures.
Turn on multiple fixtures in different parts of your home. If the issue is present in only one area (like a single sink), it’s likely a local plumbing problem such as a clogged aerator or faulty valve. If the entire house is affected, it could be a main supply issue or a pressure regulator problem. - Test both hot and cold water.
If only the hot water has low pressure, the issue may be with your water heater (such as sediment buildup or a partially closed valve). If both are affected, focus on your main water supply and pipes.
Step 2: Check for Simple, Localized Problems
Many low-pressure problems start right at the fixture. Start small before digging deeper.
A. Clean Faucet Aerators
- Turn off the faucet.
- Unscrew the aerator (the small mesh screen at the faucet’s tip) using your hand or pliers with a soft cloth to prevent scratching.
- Inspect for debris like mineral buildup, rust flakes, or sand.
- Soak the aerator in vinegar for 30 minutes to dissolve hard water deposits.
- Rinse and reattach.
If water pressure improves, you’ve solved the problem.
B. Clean or Replace Showerheads
- Remove the showerhead using pliers and a cloth.
- Soak it in a 50/50 vinegar and water solution for at least an hour.
- Use a toothbrush to scrub away any buildup from the nozzle holes.
- Reattach it and test the water flow.
If the showerhead is old or severely clogged, consider replacing it entirely.
Step 3: Inspect Shut-Off Valves
Sometimes, the simplest oversight can cause low pressure.
- Locate the shut-off valves under sinks or behind toilets.
- Ensure they’re fully open by turning them counterclockwise.
- If your home recently had plumbing work done, a valve may have been left partially closed.
Also, check your main water shut-off valve, typically located near the water meter or where the main line enters the home. Make sure it’s completely open.
Step 4: Examine the Pressure Regulator (PRV)
Many homes have a pressure-reducing valve (PRV) installed on the main water line. This device controls water pressure entering your home.
- Locate the PRV-usually near the main shut-off valve or meter.
- A failing PRV can cause sudden drops or inconsistent pressure throughout the house.
- Test your pressure using a water pressure gauge attached to an outdoor spigot.
Normal household pressure should range between 40–60 psi.
If your reading is below 40 psi, you can:
- Adjust the PRV by tightening the screw on top (turn clockwise to increase pressure, counterclockwise to decrease).
- If adjusting doesn’t help, the regulator may need to be replaced by a professional plumber.
Step 5: Check for Plumbing Leaks
Leaks reduce pressure by diverting water away from your fixtures.
How to check for leaks:
- Turn off all faucets and appliances that use water.
- Read your water meter and note the number.
- Wait 30 minutes without using water, then recheck the meter.
- If the reading changed, you likely have a hidden leak.
Inspect visible pipes, ceilings, walls, and crawl spaces for signs of moisture or drips.
If you suspect an underground or wall leak, contact a licensed plumber for a pressure test or thermal imaging inspection.
Step 6: Inspect Your Water Heater (If Only Hot Water Pressure Is Low)
If only your hot water is affected:
- Check that the shut-off valve on top of the heater is fully open.
- Drain a few gallons from the heater using the drain valve at the bottom to check for sediment.
- If water is dirty or full of debris, flush the tank:
- Turn off the heater and let it cool.
- Attach a garden hose to the drain valve and run it to a safe drain or outside.
- Open the valve and let the tank drain completely.
- Refill the tank and relight or power on the heater.
This removes sediment that can restrict water flow and restore pressure.
Step 7: Consider Municipal Supply Issues
If every fixture is affected and your neighbors are also experiencing low pressure, the issue may stem from the city water supply.
- Contact your local water utility provider to confirm any work or maintenance in your area.
- Sometimes, temporary drops occur during main line repairs, hydrant flushing, or system upgrades.
- If the issue persists beyond a day or two, request a technician to inspect your service line connection.
Step 8: Check for Corroded or Clogged Pipes
Older homes with galvanized steel pipes often experience internal corrosion that restricts flow. Signs include:
- Gradual pressure loss over time.
- Discolored water.
- Different pressure levels in separate parts of the home.
Unfortunately, corrosion cannot be cleaned; the only fix is pipe replacement.
A licensed plumber can inspect the system and determine whether partial repiping or a full upgrade to PEX or copper is best.
Step 9: Install a Booster Pump (Optional for Permanent Low Pressure)
If your home’s water supply pressure is consistently low-even after all repairs-a water pressure booster pump can help.
Installation overview:
- Choose a pump rated for your home’s flow demand (usually between 45-70 psi).
- Install it on the main water line after the meter or PRV.
- Include a pressure tank to maintain consistent flow and prevent rapid cycling.
- Connect it to power and test the pressure at multiple fixtures.
Booster pumps are ideal for homes in areas with low municipal pressure or located on elevated terrain.
Step 10: Prevent Future Water Pressure Problems
To maintain consistent pressure:
- Flush your water heater annually.
- Clean aerators and showerheads every few months.
- Inspect for leaks regularly.
- Replace aging pipes and valves before they fail.
- Monitor your water pressure gauge to catch early signs of decline.
Final Thoughts
Fixing low water pressure isn’t always a one-step solution-it’s about isolating the cause and addressing it systematically. By starting with small checks and moving toward more advanced troubleshooting, you can often restore strong, steady water flow throughout your home. If after completing these steps you still have low pressure, it may be time to call a licensed plumber to conduct a full diagnostic test of your system.