If your toilet keeps running, refills slowly, or makes loud noises, learning how to replace a toilet fill valve can solve the problem quickly. Fortunately, this repair is simple for most homeowners. In addition, replacing the valve can reduce water waste and prevent higher utility bills.
Many toilet problems start inside the tank. Therefore, understanding the repair before starting will help Reader avoid leaks, mistakes, and repeat repairs.
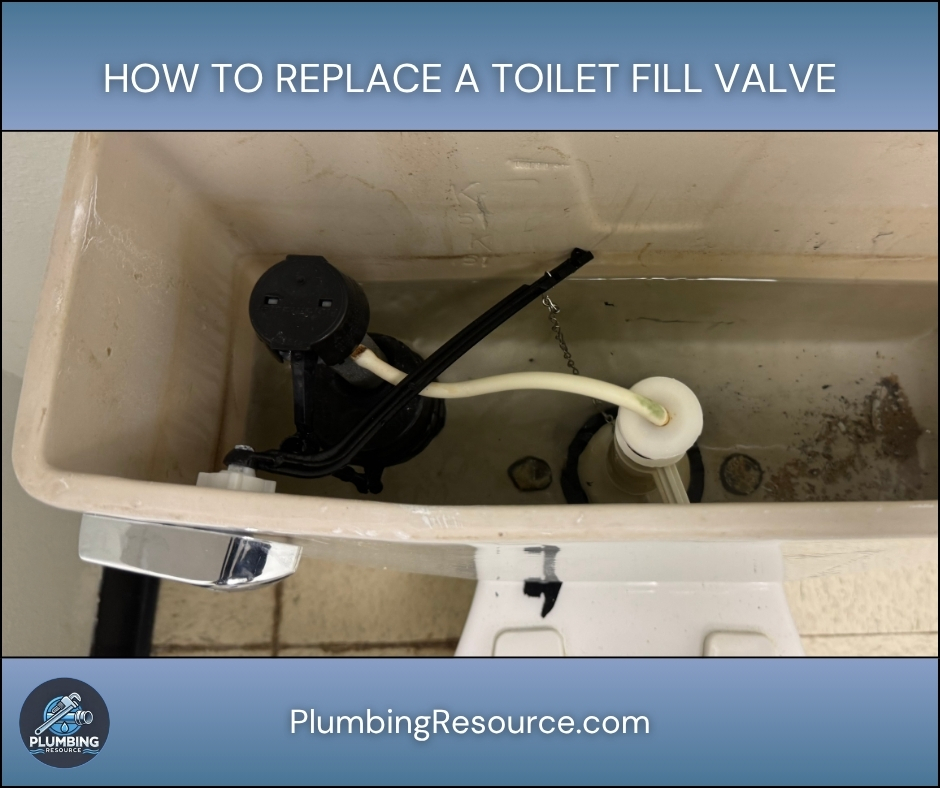
🔍 Understanding the Project
A toilet fill valve controls the water entering the tank after each flush. Over time, however, the internal seals and moving parts wear out. As a result, the valve may stop shutting off correctly.
Several warning signs indicate replacement is needed:
- The toilet runs constantly
- Water flows into the overflow tube
- The tank refills slowly
- The toilet makes humming or screeching noises
- Water sprays or leaks inside the tank
In many cases, replacement is better than repair because modern fill valves are inexpensive and reliable. In addition, newer valves often improve refill speed and reduce noise.
Before starting, Reader should verify compatibility. Most modern toilets use universal fill valves. However, some one-piece or specialty toilets require specific parts.
Replacing the valve now can also prevent future water damage and unnecessary water waste.
🧰 Tools & Materials
Before starting, gather all tools and materials.
🔧 Tools
🧱 Materials
- Universal toilet fill valve
- Flexible toilet supply line (optional)
- Towels or rags
- Rubber gloves (optional)
🛠️ Step-by-Step Guide: How To Replace a Toilet Fill
1️⃣ Shut Off the Water Supply
First, locate the toilet shutoff valve behind the toilet near the wall.
Turn the valve clockwise until it stops. Then flush the toilet to drain most of the water from the tank.
Hold the handle down while flushing. This helps remove as much water as possible.
Next, use a sponge or towel to soak up any remaining water inside the tank.
If the Shutoff Valve Does Not Work
Sometimes the shutoff valve fails completely. In that case, Reader may need to shut off the main water supply to the house temporarily.
If the valve leaks while turning it, stop immediately. A damaged shutoff valve may require replacement before continuing.
2️⃣ Disconnect the Water Supply Line
Place a towel underneath the tank connection first. Then disconnect the water supply line from the bottom of the fill valve.
Most supply lines loosen by turning the nut counterclockwise.
Some nuts loosen by hand. However, older connections may require pliers or an adjustable wrench.
After disconnecting the line, allow any remaining water to drain into the bucket or towel.
3️⃣ Remove the Old Fill Valve
Inside the toilet tank, locate the refill tube attached to the overflow tube.
Carefully disconnect the refill tube first.
Next, move underneath the toilet tank and locate the large plastic locknut securing the fill valve.
Turn the locknut counterclockwise until it comes off completely.
Then lift the old fill valve straight out of the tank.
If the Nut Is Stuck
Mineral buildup can make removal difficult. Therefore, apply gentle pressure while loosening the nut.
Avoid forcing the porcelain tank. Too much pressure can crack the toilet tank.
If necessary, use penetrating oil on metal hardware.
4️⃣ Prepare the New Fill Valve
Most universal fill valves adjust for different toilet heights.
Before installation, compare the new valve height to the old one.
The top of the fill valve should sit above the overflow tube. However, it should not touch the toilet tank lid.
Follow the manufacturer’s adjustment instructions carefully.
Important Washer Placement
The rubber washer installs inside the tank.
This is extremely important because incorrect placement causes leaks underneath the toilet.
5️⃣ Install the New Fill Valve
Insert the new fill valve through the hole in the bottom of the tank.
While holding the valve upright inside the tank, install the locknut underneath.
Hand-tighten the nut first. Then tighten slightly more with pliers.
Do not overtighten the locknut. Excessive force can crack the porcelain tank.
6️⃣ Reconnect the Water Supply Line
Reconnect the supply line to the bottom of the new fill valve.
Start threading the connection by hand first. This prevents cross-threading.
Then tighten gently with a wrench.
If the supply line looks old, corroded, or damaged, replace it now. In many cases, replacing the line prevents future leaks.
7️⃣ Connect the Refill Tube
Attach the refill tube to the nipple on the fill valve.
Then clip the other end to the overflow tube.
The refill tube should sit above the overflow opening. It should not extend down inside the overflow tube.
If the tube sits too low, siphoning may occur. As a result, the toilet may run continuously.
8️⃣ Turn the Water Back On
Slowly turn the shutoff valve counterclockwise.
Allow the tank to refill completely.
Watch carefully for leaks around:
- The supply line
- The fill valve base
- The locknut underneath the tank
If leaks appear, tighten connections slightly.
9️⃣ Adjust the Water Level
Most fill valves include an adjustment screw or adjustment clip.
The correct water level usually sits about 1 inch below the top of the overflow tube.
To Raise the Water Level
- Adjust the float upward
To Lower the Water Level
- Adjust the float downward
Flush the toilet several times afterward.
Then confirm the valve shuts off completely after each refill.
⚠️ Common Mistakes
- Overtightening the retaining nut
- Installing the rubber washer underneath the tank
- Forgetting to reconnect the refill tube
- Setting the water level too high
- Reusing an old damaged supply line
- Pushing the refill tube too far into the overflow tube
💡 Pro Tips
- Replace the supply line while replacing the fill valve
- Clean mineral buildup inside the tank before installation
- Test the toilet multiple times after installation
- Use a flashlight underneath the tank when checking for leaks
- Purchase a high-quality universal fill valve for quieter operation
🔧 Troubleshooting
Toilet Still Runs After Replacement
Usually the water level sits too high. Therefore, lower the float adjustment slightly.
Also inspect the toilet flapper because it may leak independently from the fill valve.
Toilet Refills Slowly
First, confirm the shutoff valve is fully open.
Then inspect the supply line for kinks or buildup.
Water Leaks Underneath the Tank
Check the rubber washer placement carefully.
The washer must sit inside the tank, not underneath it.
Loud Humming or Vibrating Noise
Debris may exist inside the fill valve. Therefore, flush the valve according to manufacturer instructions.
👨🏻🔧 When to Call a Professional
Call a licensed plumber if:
- The shutoff valve will not close
- The toilet tank is cracked
- Severe corrosion prevents removal
- Water damage exists around the toilet
- The toilet uses specialty internal components
- Multiple plumbing fixtures have pressure problems
Professional plumbers can identify hidden issues quickly and safely.
❓ FAQ
How long does it take to replace a toilet fill valve?
Most homeowners complete the repair in 30 to 60 minutes. However, corroded hardware may increase repair time.
Can I replace a toilet fill valve without replacing the flapper?
Yes. However, many plumbers recommend replacing both parts together because both wear out over time.
Why does my toilet still run after I replace the toilet fill valve?
Usually the water level is too high or the flapper leaks. Therefore, inspect both carefully.
Are universal fill valves compatible with all toilets?
Most standard toilets use universal fill valves. However, some specialty toilets require manufacturer-specific parts.
How often should a toilet fill valve replacement be done?
Most fill valves last between 5 and 10 years. However, hard water may shorten lifespan.
✅ Conclusion
Learning how to replace a toilet fill valve can save water, reduce noise, and prevent frustrating toilet problems. Fortunately, this repair is straightforward when each step is followed carefully. With the right tools and proper installation, most homeowners can complete the repair successfully in under an hour.
👋🏼 Before You Go…
If this guide helped you fix your sink, then save it for future reference. Also, share it with someone dealing with a clogged drain.
And if you want more expert plumbing tips, check out more guides on your site to stay ahead of costly problems.


