Fixing a bathtub leak can prevent water damage, mold growth, and expensive plumbing repairs. However, many homeowners ignore small leaks until they become major problems. If you want to learn how to fix a bathtub leak, this guide walks you through the most common causes, repair methods, and troubleshooting steps.
🔍 Understanding the Project
Bathtub leaks often develop because of worn seals, damaged drain components, cracked caulking, or faulty plumbing connections. In some cases, the leak may come from the overflow assembly or the faucet valve behind the wall.
You may notice water stains, peeling paint, soft drywall, or water pooling near the tub. In addition, you might smell mildew or notice flooring damage around the bathroom.
Ignoring the issue can lead to structural damage, mold growth, and costly repairs. Therefore, finding the source early is extremely important.
Some bathtub leaks are simple to repair. However, hidden plumbing leaks behind walls may require advanced repairs.
🧰 Tools & Materials
- Adjustable wrench
- Screwdriver set
- Flashlight
- Plumber’s putty
- Silicone caulk
- Utility knife
- Channel lock pliers
- Replacement drain gasket
- Drain removal tool
- Pipe thread sealant
- Bucket
- Towels
- Replacement overflow gasket
- PTFE tape
- Caulking gun
- Cleaning rag
🛠️ Step-By-Step Guide: How To Fix a Bathtub Leak
1️⃣ Identify the Source of the Leak
First, determine where the water is coming from. Dry the entire area around the tub and run water in stages.
For example:
- Fill the tub partially
- Run the faucet
- Test the shower
- Check the overflow
- Inspect underneath the tub if accessible
This process helps isolate the leak source.
2️⃣ Inspect the Bathtub Drain
Next, examine the drain connection for loose fittings or worn seals.
A leaking drain often causes water stains below the tub. Therefore, inspect the drain while the tub holds water.
If water appears below the drain area, the gasket or putty may have failed.
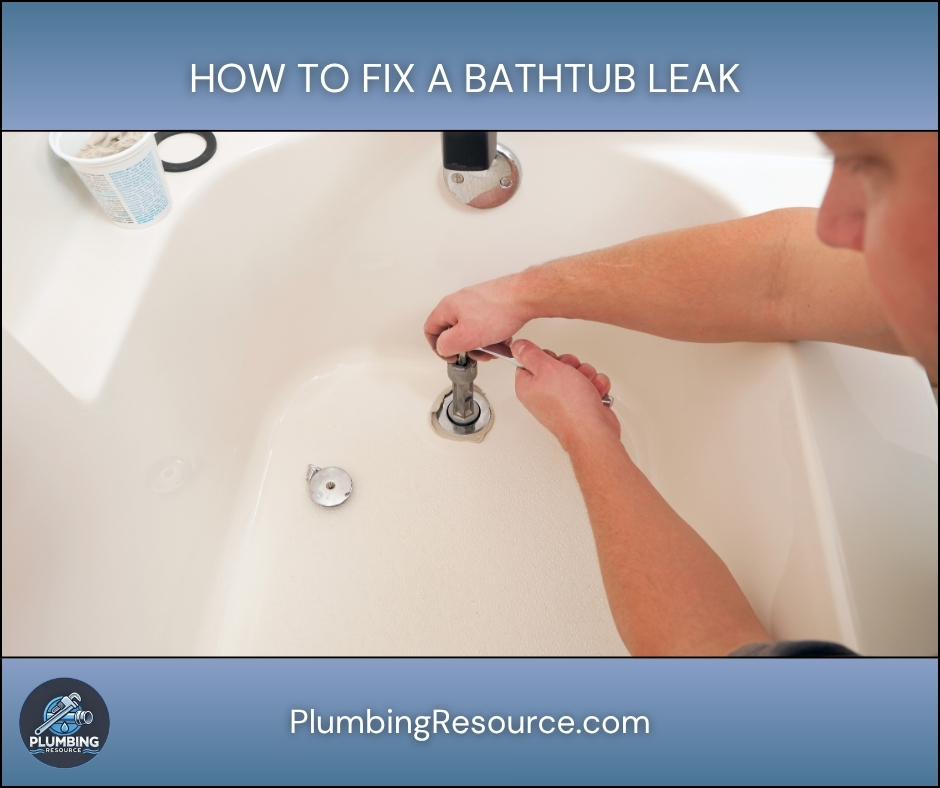
3️⃣ Remove the Drain Assembly
Use a drain removal tool to unscrew the bathtub drain.
Then, clean away old plumber’s putty and debris around the opening. A clean surface helps create a better seal during reinstallation.
4️⃣ Replace the Drain Gasket or Plumber’s Putty
Install a new rubber gasket if the old one looks cracked or flattened.
Next, apply fresh plumber’s putty beneath the drain flange. Tighten the drain securely, but avoid overtightening because it can damage the tub.
5️⃣ Check the Overflow Plate
Remove the overflow cover plate and inspect the gasket behind it.
Overflow gaskets often dry out over time. As a result, water leaks behind the tub wall whenever the tub fills too high.
Replace the gasket if it appears brittle or compressed.
6️⃣ Inspect the Faucet and Spout
Turn on the faucet and look for dripping around the tub spout or handles.
In many cases, worn cartridges or valve seals cause slow leaks inside the wall. Therefore, inspect the area carefully for moisture.
7️⃣ Remove Old Caulking
Cut away cracked or moldy caulking around the bathtub edges using a utility knife.
Old caulk allows water to seep behind the tub surround. Consequently, moisture damage can spread into nearby walls and flooring.
8️⃣ Apply New Silicone Caulk
Apply a smooth bead of bathroom-grade silicone caulk around the tub edges.
Then, smooth the bead using your finger or a caulk tool. Allow the caulk to cure fully before using the bathtub.
9️⃣ Tighten Loose Plumbing Connections
Inspect exposed plumbing beneath the bathtub if access is available.
Tighten loose slip nuts and threaded fittings carefully. In addition, replace damaged washers if necessary.
1️⃣0️⃣ Test the Repair
Run water again and monitor all repaired areas closely.
Fill the tub, drain it, and inspect for leaks underneath and around the tub. If everything stays dry, the repair was successful.
⚠️ Common Mistakes
- Ignoring small water stains
- Applying new caulk over old caulk
- Overtightening drain fittings
- Using the wrong gasket size
- Forgetting to test the overflow assembly
- Misdiagnosing condensation as a leak
💡 Pro Tips
- Always dry surfaces before testing for leaks
- Use clear silicone for a cleaner finish
- Replace old gaskets during drain repairs
- Inspect nearby drywall for hidden moisture
- Test repairs multiple times before closing access panels
🔧 Troubleshooting
Water Still Leaks Under the Tub
The drain gasket may still be misaligned. Therefore, remove the drain and reinstall it carefully.
Leak Appears Only During Showers
The issue may involve the shower valve, spout, or tile grout instead of the bathtub itself.
Overflow Still Leaks
The gasket may not sit flush against the tub wall. Reposition it and tighten the screws evenly.
Caulk Keeps Cracking
Movement around the tub may cause repeated failures. Use flexible bathroom-grade silicone instead of standard caulk.
👨🏻🔧 When to Call a Professional
You should contact a licensed plumber if:
- The leak is behind the wall
- Mold damage is visible
- Pipes are corroded
- The bathtub drain pipe is cracked
- Water damage affects flooring or ceilings
- The leak source remains unclear
Professional leak detection can prevent unnecessary demolition and additional damage.
❓ FAQ
How do I know where my bathtub leak is coming from?
Start by testing the faucet, drain, overflow, and shower separately. This process helps isolate the leaking component.
Can I fix a bathtub leak without replacing the tub?
Yes. Most bathtub leaks involve drains, seals, caulking, or plumbing connections rather than the tub itself.
How much does it cost to fix a bathtub leak?
Minor repairs may cost very little if you handle them yourself. However, hidden plumbing leaks can become more expensive.
What causes a bathtub drain to leak?
Worn drain gaskets, failed plumber’s putty, loose fittings, and corrosion commonly cause bathtub drain leaks.
How long does silicone caulk take to cure?
Most bathroom silicone caulk cures within 24 hours. However, always check the manufacturer’s instructions.
✅ Conclusion
Learning how to fix a bathtub leak can help you avoid major water damage and expensive repairs. In many cases, the issue comes from worn seals, old caulking, or loose drain components. Therefore, early inspection and repair can save both time and money.
👋🏼 Before You Go…
If this guide helped you, save it for later and share it with someone dealing with a bathroom leak. In addition, check out our other plumbing repair guides for more homeowner troubleshooting tips.


