Installing a new bathroom sink can improve both the appearance and function of your bathroom. Whether you are remodeling your bathroom or replacing an outdated fixture, learning how to install a bathroom sink can help you save money and understand your plumbing system better. In addition, a properly installed sink helps prevent leaks, drainage problems, and future plumbing damage.
🔍 Understanding the Project
A bathroom sink provides a convenient place for washing hands, brushing teeth, and daily hygiene tasks. Therefore, choosing the right sink and installing it correctly is important for long-term performance.
Bathroom sinks come in several styles, including drop-in sinks, undermount sinks, pedestal sinks, and vessel sinks. Each style has different installation requirements. However, most installations follow similar plumbing principles.
Before starting the project, you should confirm that the new sink fits the vanity, countertop, and existing plumbing layout. In addition, you should inspect the water shut-off valves and drain connections for wear or corrosion.
Many homeowners struggle with alignment issues, drain leaks, or faucet installation mistakes during the project. Therefore, careful preparation can make the installation much smoother.
🧰 Tools & Materials
- Adjustable wrench
- Channel lock pliers
- Basin wrench
- Screwdriver
- Tape measure
- Utility knife
- Plumber’s putty
- Silicone caulk
- Plumber’s tape
- Bucket
- Towels or rags
- Bathroom sink
- Faucet
- Pop-up drain assembly
- P-trap assembly
- Supply lines
- Mounting clips or brackets
- Shut-off valves (if needed)
🛠️ Step-By-Step Guide: How To Install a Bathroom Sink
1️⃣ Shut Off the Water Supply
Turn off the hot and cold shut-off valves beneath the sink. Then, open the faucet to relieve pressure and drain remaining water from the lines.
Place a bucket underneath the sink because leftover water may spill during disconnection.
2️⃣ Disconnect the Existing Plumbing
Use channel lock pliers to disconnect the supply lines from the faucet. Next, remove the P-trap and drain assembly.
Loosen the mounting hardware holding the sink in place. Then, carefully lift out the old sink.
3️⃣ Clean the Installation Area
Remove old caulk, putty, and debris from the countertop or vanity surface. In addition, inspect the countertop for water damage or uneven surfaces.
A clean surface helps the new sink seal properly.
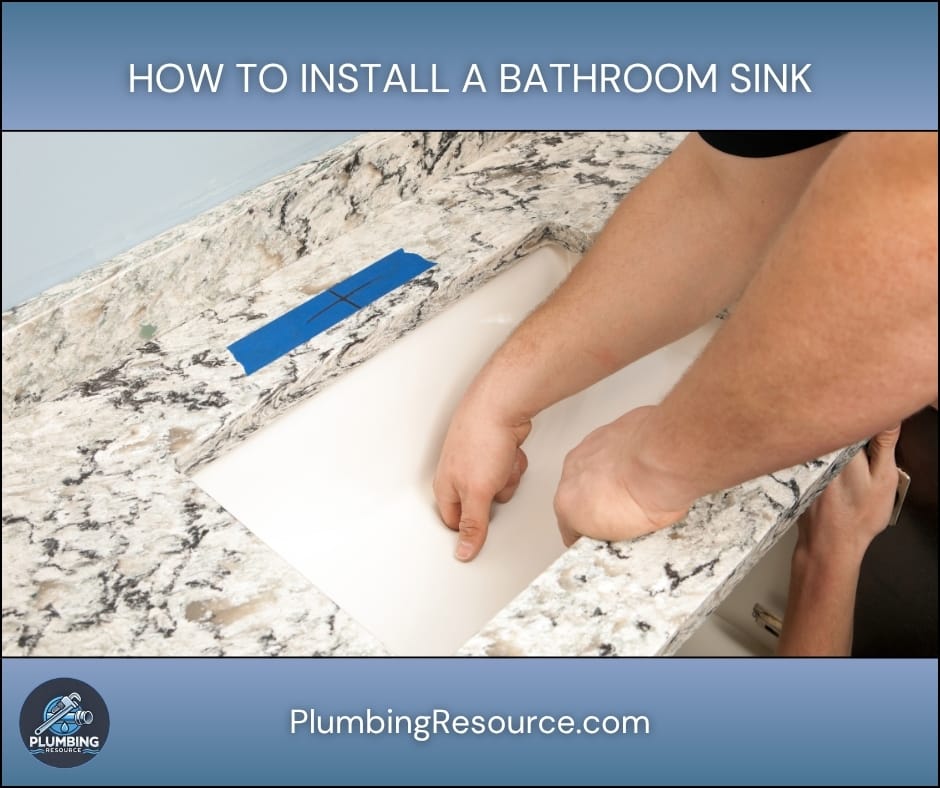
4️⃣ Test Fit the New Sink
Place the new sink into position before securing it permanently. Then, verify that the sink fits evenly and aligns with the drain opening.
Check faucet hole placement and plumbing clearances as well.
5️⃣ Install the Faucet
It is usually easier to install the faucet before securing the sink. Therefore, attach the faucet according to the manufacturer’s instructions.
Tighten the mounting nuts carefully. Then, connect the faucet supply lines.
6️⃣ Install the Drain Assembly
Apply plumber’s putty beneath the drain flange unless the manufacturer specifies silicone instead.
Insert the drain assembly into the sink opening. Then, tighten the retaining nut underneath the sink.
Attach the pop-up linkage if your sink includes one.
7️⃣ Apply Silicone Caulk
Run a thin bead of silicone caulk around the sink opening or mounting edge. Then, lower the sink into position.
Press the sink firmly into place to create a watertight seal.
8️⃣ Secure the Sink
Install the mounting clips or brackets included with the sink. Tighten them evenly to avoid cracking the fixture.
Do not overtighten the hardware because excessive force may damage porcelain or ceramic sinks.
9️⃣ Connect the Water Supply Lines
Attach the hot and cold supply lines to the shut-off valves. Then, tighten the connections securely.
Use plumber’s tape on threaded fittings if needed.
1️⃣0️⃣ Install the P-Trap
Connect the sink drain tailpiece to the P-trap assembly. Then, align the trap with the wall drain connection.
Hand-tighten the slip nuts first. Afterward, use pliers for a slight additional turn.
1️⃣1️⃣ Test the Sink for Leaks
Turn the water supply back on slowly. Then, inspect every connection carefully.
Run both hot and cold water while checking underneath the sink. In addition, fill the basin and release the drain to test the drainage system.
1️⃣2️⃣ Finish the Installation
Wipe away excess silicone and clean the sink surface. Then, allow the caulk to cure according to the manufacturer’s instructions.
Your new bathroom sink installation is now complete.
⚠️ Common Mistakes
- Overtightening drain fittings
- Forgetting plumber’s putty beneath the drain flange
- Misaligning the P-trap
- Using the wrong sink size
- Applying excessive silicone caulk
- Failing to test for leaks
- Reusing damaged supply lines
- Installing the faucet after mounting the sink
💡 Pro Tips
- Replace old shut-off valves during the installation if they show corrosion.
- Additionally, use braided stainless steel supply lines for durability.
- Test fit all plumbing before applying silicone.
- Keep a towel nearby during plumbing disconnection.
- Label the hot and cold supply lines before removal.
🔧 Troubleshooting
Sink Drain Leaks
Tighten the drain retaining nut slightly. However, avoid overtightening because it can damage the gasket.
Water Supply Connection Drips
Check the supply line washers and threaded connections. Then, retighten carefully.
Slow Drainage
Inspect the P-trap alignment and verify that the drain stopper moves freely.
Sink Does Not Sit Flat
Remove the sink and inspect the countertop for debris or uneven surfaces.
👨🏻🔧 When to Call a Professional
Although many homeowners can install a bathroom sink themselves, some situations require a licensed plumber.
Call a professional if:
- The drain piping requires relocation
- Shut-off valves fail during removal
- Water lines are corroded
- The vanity requires structural modification
- You discover hidden leaks or water damage
- The sink installation involves stone countertops
A professional plumber can also ensure the installation meets local plumbing codes.
❓ FAQ
How long does it take to install a bathroom sink?
Most bathroom sink installations take between two and four hours, depending on plumbing conditions and sink type.
Can I install a bathroom sink without replacing the faucet?
Yes. However, many homeowners replace the faucet during the project because access is easier.
What type of caulk should I use for bathroom sink installation?
Use a mildew-resistant silicone caulk designed for kitchens and bathrooms.
Do I need plumber’s putty for bathroom sink installation?
Most drain assemblies require plumber’s putty beneath the flange. However, always follow the manufacturer’s instructions.
Can I reuse old supply lines?
It is usually better to replace supply lines during installation because older lines may fail later.
✅ Conclusion
Learning how to install a bathroom sink can help you upgrade your bathroom and improve plumbing performance. With the right tools, careful preparation, and attention to detail, you can complete the project successfully and avoid common installation mistakes.
👋🏼 Before You Go…
If you found this guide helpful, save it for future reference and share it with someone planning a bathroom upgrade. In addition, explore more plumbing guides and bathroom installation tips here on Plumbing Resource.


