Knowing How To Replace a Washing Machine Hose can help you prevent expensive water damage and unexpected leaks. Over time, washing machine hoses wear out because of pressure, vibration, heat, and mineral buildup. Therefore, replacing old hoses before they fail is one of the smartest plumbing maintenance tasks you can do at home.
In this guide, you’ll learn every step of the process in detail. In addition, you’ll learn how to handle stuck fittings, tight laundry spaces, leaking valves, and other common issues that homeowners often encounter.
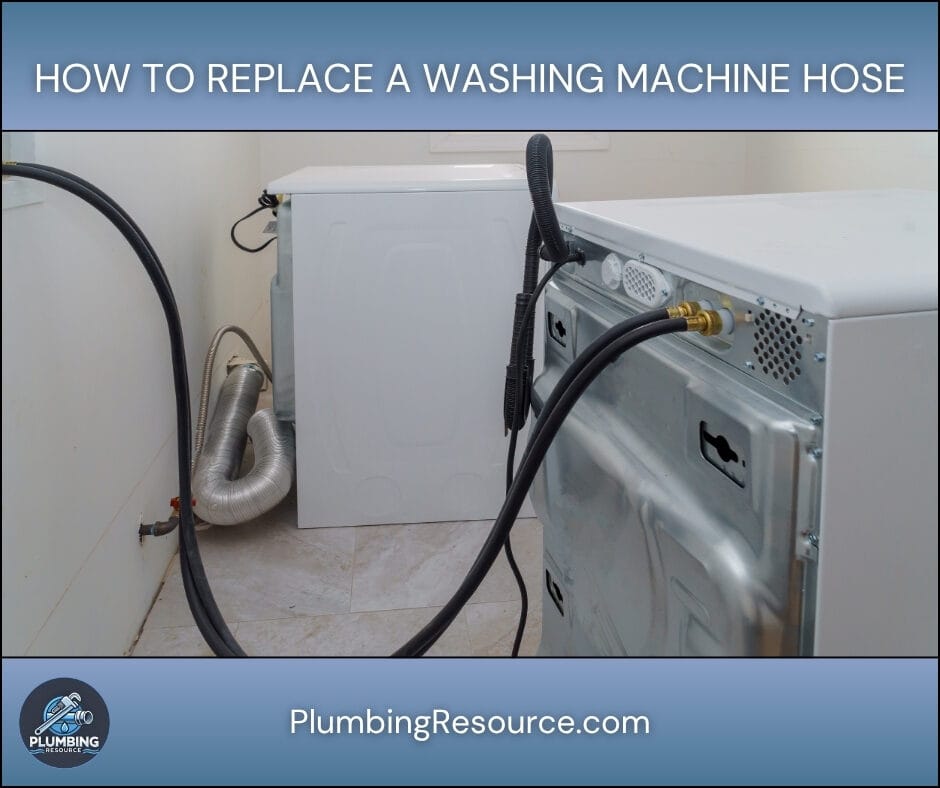
🔍 Understanding the Project
Washing machine hoses constantly stay under water pressure. Because of that, the rubber inside the hose slowly weakens over time. Eventually, cracks, bulges, corrosion, or loose fittings can develop.
Several signs indicate replacement is needed:
- Visible cracking or blistering on rubber hoses
- Rust or corrosion around fittings
- Small drips behind the washer
- Kinked or flattened hoses
- Hoses older than five years
- Bulging near the connections
Replacing the hoses can prevent sudden flooding and water damage. In addition, upgrading to braided stainless steel hoses improves durability and reliability.
Before starting, you should verify the hose length and fitting compatibility. Most washing machines use standard 3/4-inch hose thread connections. However, some flood-safe hoses include special shutoff devices that require additional clearance behind the washer.
🧰 Tools & Materials
- Adjustable wrench
- Channel-lock pliers
- Bucket
- Towels or rags
- Flashlight
- New washing machine hoses
- Replacement rubber washers
- Gloves
- Small cleaning brush
🛠️ Step-By-Step Guide: How To Replace a Washing Machine Hose
1️⃣ Turn Off the Washing Machine Power
First, unplug the washing machine from the electrical outlet. This step reduces the risk of electrical shock while working around water.
If the plug is difficult to access, carefully pull the washer forward a few inches. However, avoid pulling too hard because the drain hose could disconnect.
2️⃣ Shut Off the Water Supply Valves
Locate the hot and cold shutoff valves behind the washer. Then, turn both valves clockwise until they fully stop.
If a valve feels stiff, apply gentle pressure instead of forcing it. Older valves can break if turned aggressively.
After shutting the valves off, watch for dripping around the valve stems. If leakage appears, the valve itself may need replacement.
3️⃣ Move the Washer Forward
Next, slowly pull the washing machine away from the wall. Create enough space to comfortably access the hose connections.
Place towels behind the washer because some water will spill during removal.
If your washer sits in a tight closet, move carefully to avoid damaging nearby walls or trim.
4️⃣ Relieve Pressure From the Hoses
Even after shutting off the valves, water remains trapped inside the hoses.
Place a bucket under the hose connections. Then, slowly loosen one hose connection to relieve pressure gradually.
Allow the trapped water to drain into the bucket before fully removing the hose.
5️⃣ Disconnect the Old Washing Machine Hoses
Use your hand first to loosen the hose fittings. However, if the fittings are stuck, use an adjustable wrench or channel-lock pliers.
Disconnect both ends of each hose:
- Valve side
- Washing machine side
Inspect the removed hoses carefully. Bulges, rust, and cracks often become easier to see once removed.
6️⃣ Inspect the Shutoff Valves and Inlets
Before installing new hoses, inspect the valve threads and washer inlet connections.
Look for:
- Corrosion
- Mineral buildup
- Damaged threads
- Cracked fittings
- Water stains
Clean dirty threads using a small brush or rag. In addition, replace damaged rubber washers if necessary.
If the valve leaks even while closed, you may need professional valve replacement before continuing.
7️⃣ Prepare the New Washing Machine Hoses
Most new hoses include rubber washers already installed inside the fittings. Check both ends carefully before installation.
Do not use Teflon tape on standard washing machine hose fittings because the rubber washer creates the seal.
Confirm the hose length before connecting:
- Hoses should not stretch tightly
- Hoses should not sharply kink
- Hoses should have smooth bends behind the washer
8️⃣ Connect the Hoses to the Washer
Attach the hot and cold hoses to the correct washing machine inlets.
Typically:
- Hot connects to the red inlet
- Cold connects to the blue inlet
Thread each fitting by hand first. This step helps prevent cross-threading.
Then, tighten each fitting slightly with a wrench. However, avoid overtightening because excessive force can damage the washer or fitting.
9️⃣ Connect the Hoses to the Water Valves
Next, connect the opposite hose ends to the shutoff valves.
Again, start the threads by hand. Then, snug the fittings gently with a wrench.
Position the hoses carefully so they do not twist or rub sharply against the wall.
1️⃣0️⃣ Turn the Water Back On Slowly
Open the shutoff valves slowly while watching each connection carefully.
Inspect all four connection points:
- Hot valve
- Cold valve
- Hot washer inlet
- Cold washer inlet
If you notice dripping, tighten the fitting slightly and inspect again.
1️⃣1️⃣ Check for Leaks During Operation
Plug the washer back in and run a short fill cycle.
Watch the hoses while the washer fills because operating pressure can reveal hidden leaks.
Check for:
- Drips
- Spraying water
- Vibrating hoses
- Kinks during movement
If everything remains dry, the installation is complete.
1️⃣2️⃣ Push the Washer Back Into Position
Carefully move the washer back toward the wall.
However, avoid crushing the hoses behind the appliance. Leave enough space for gentle hose curves.
Once positioned, run one final inspection behind the washer using a flashlight.
⚠️ Common Mistakes
- Overtightening hose fittings
- Reusing damaged rubber washers
- Crossing hot and cold connections
- Crushing hoses behind the washer
- Ignoring small drips after installation
- Using old rubber hoses beyond their lifespan
- Forgetting to inspect shutoff valves
💡 Pro Tips
- Replace both hoses at the same time for balanced wear
- Upgrade to braided stainless steel hoses for better durability
- Inspect washing machine hoses yearly
- Leave slight slack behind the washer to prevent strain
- Label hot and cold hoses if colors are unclear
- Replace hoses every 3–5 years for maximum reliability
🔧 Troubleshooting
Hose Connection Still Leaks
First, shut the water back off. Then, inspect the rubber washer inside the hose fitting. Replace damaged washers if necessary.
Fitting Will Not Thread Correctly
The fitting may be cross-threaded. Remove it and start again slowly by hand.
Water Valve Leaks When Turned On
The shutoff valve may have a failing packing seal or internal damage. In that case, professional repair may be necessary.
Hose Kinks Behind the Washer
Use a longer hose or reposition the washer slightly farther from the wall.
👨🏻🔧 When to Call a Professional
You should contact a plumber if:
- Shutoff valves will not close fully
- Valve connections are heavily corroded
- Water pipes move while loosening fittings
- The washer connection threads are damaged
- Leaks continue after tightening and replacing washers
- The laundry area has signs of hidden water damage
❓ FAQ
How often should you replace washing machine hoses?
Most manufacturers recommend replacement every 3–5 years. However, braided stainless steel hoses may last longer with regular inspection.
Can I use braided hoses instead of rubber hoses?
Yes. In fact, braided stainless steel hoses are more durable and resist bursting better than standard rubber hoses.
Do washing machine hose fittings need Teflon tape?
No. Standard washing machine hoses seal with rubber washers, so Teflon tape is usually unnecessary.
What causes washing machine hoses to burst?
Age, high water pressure, kinks, vibration, and internal deterioration commonly cause hose failure.
How do I know which hose is hot and cold?
Most washers use red for hot and blue for cold. However, you should also check the markings on the washer connections.
✅ Conclusion
Learning How To Replace a Washing Machine Hose helps protect your home from expensive water damage and unexpected leaks. Although the project is straightforward, careful installation and leak testing are extremely important. By following these detailed steps, you can install new hoses confidently and keep your laundry area protected.
👋🏼 Before You Go…
If this guide helped you, save it for future reference and share it with someone who wants to prevent laundry room leaks before they happen.


