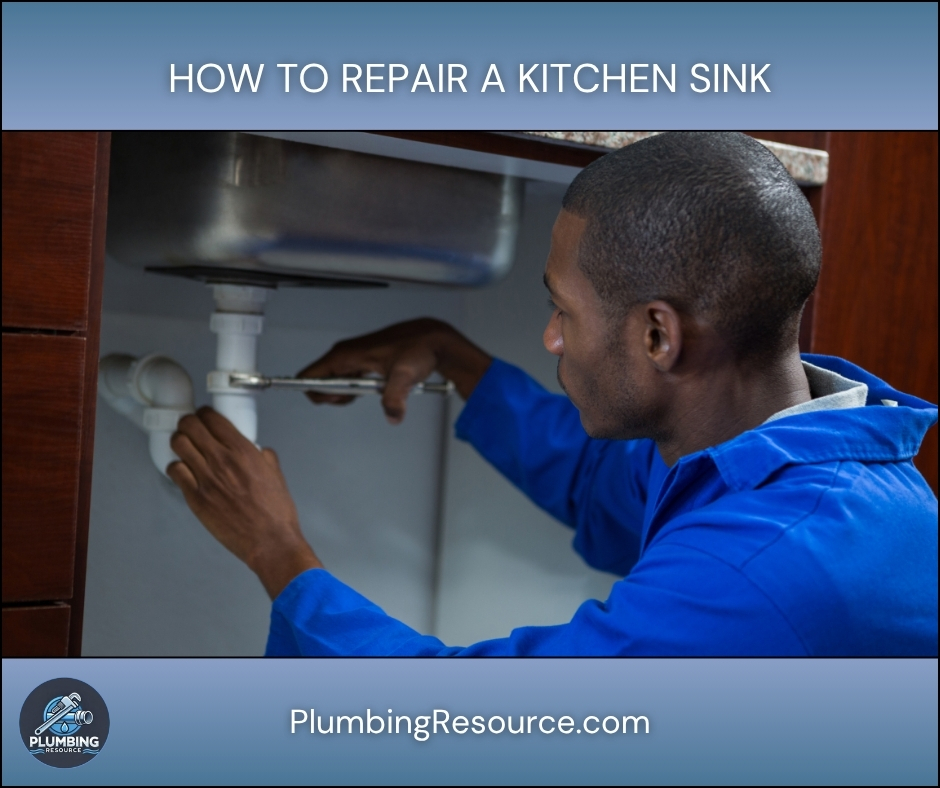
A damaged sink can create leaks, clogs, water damage, and daily frustration. Fortunately, learning how to repair a kitchen sink can save money and help prevent larger plumbing problems. Whether the issue is a leaking drain, a loose faucet, or a damaged connection, this guide walks you through the process step by step.
Also, many kitchen sink problems share the same causes. Therefore, understanding the system before starting the repair makes the job much easier.
🔍 Understanding the Project
Kitchen sinks experience constant use. Because they handle water, food waste, grease, and cleaning chemicals, the components naturally wear over time.
Common causes of kitchen sink problems include:
- Worn-out gaskets
- Loose drain connections
- Corroded pipes
- Damaged faucet parts
- Clogged drains
- Old plumber’s putty or sealant
Common warning signs include:
- Water leaking inside the cabinet
- Slow drainage
- Bad odors
- Dripping faucets
- Standing water around the sink
Ignoring these problems can lead to cabinet damage, mold growth, higher water bills, and expensive plumbing repairs. Therefore, fixing small issues early helps protect your home.
🧰 Tools & Materials
- Adjustable wrench
- Channel-lock pliers
- Bucket
- Towels or rags
- Flashlight
- Screwdrivers
- Plumber’s putty
- Silicone sealant
- Pipe thread seal tape
- Replacement washers
- Replacement gaskets
- New P-trap parts if needed
- Drain assembly parts if needed
- Utility knife
🛠️ Step-By-Step Guide: How To Repair a Kitchen Sink
1️⃣ Identify the Problem
Turn on the faucet and inspect every part of the sink. Also, check underneath the cabinet while water runs.
Look for:
- Drips
- Loose fittings
- Cracked pipes
- Water stains
- Slow drainage
Finding the exact source prevents unnecessary work.
2️⃣ Shut Off the Water Supply
Close the hot and cold shutoff valves under the sink.
Then, open the faucet to relieve pressure and drain any remaining water.
3️⃣ Place a Bucket Under the Sink
Set a bucket below the plumbing connections.
This catches leftover water and keeps the work area clean.
4️⃣ Tighten Loose Connections
Use pliers or a wrench to snug loose slip nuts and fittings.
However, avoid overtightening because plastic parts can crack.
5️⃣ Repair a Leaking Drain Assembly
If water leaks around the sink drain, remove the drain assembly.
Clean away old putty and debris.
Apply fresh plumber’s putty under the flange and reinstall the drain.
Tighten evenly to create a good seal.
6️⃣ Replace Worn Gaskets
Inspect rubber washers and compression gaskets.
If they appear cracked or flattened, replace them with matching parts.
Old seals often cause hidden leaks.
7️⃣ Check the P-Trap
Remove the P-trap and inspect it.
Clean out debris if necessary.
Replace damaged sections before reinstalling the trap.
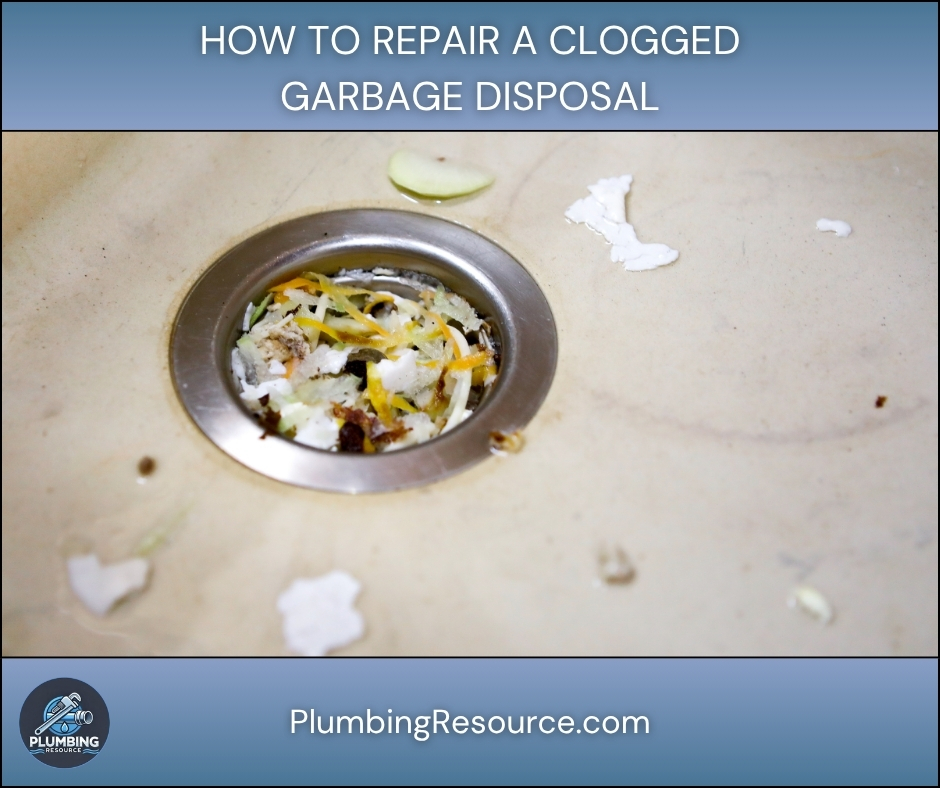
8️⃣ Clear Minor Drain Clogs
Remove buildup from the drain opening.
A sink auger or small hand snake can remove many simple clogs.
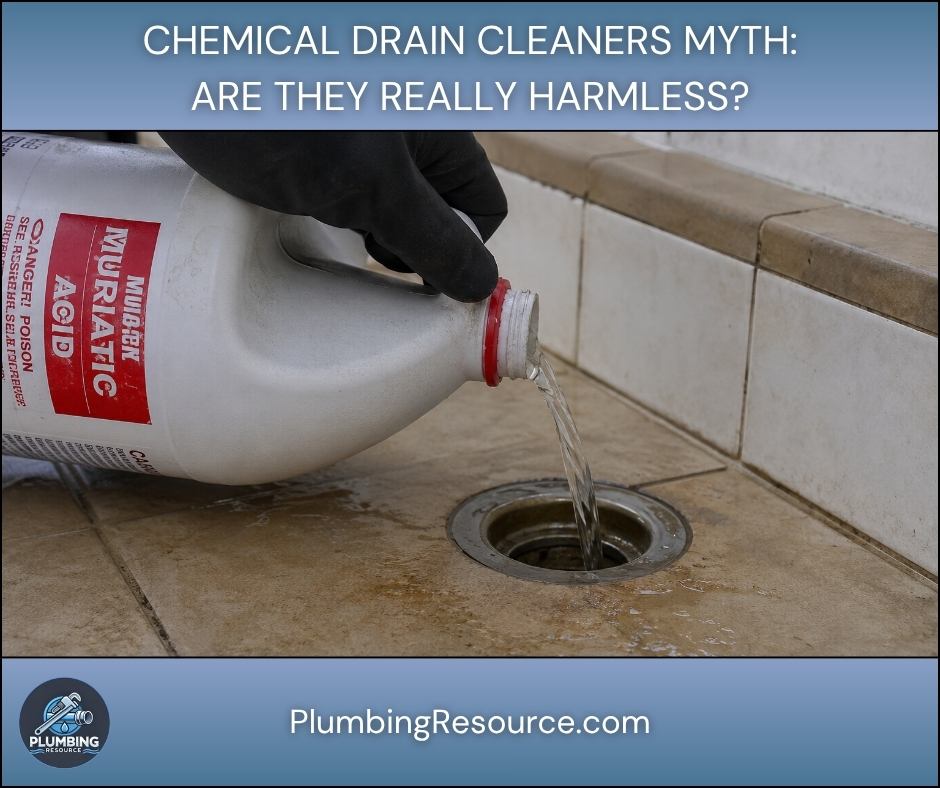
Avoid using harsh chemical cleaners whenever possible.
9️⃣ Repair Faucet Leaks
Inspect the faucet for worn cartridges, stems, or O-rings.
Replace damaged components according to the faucet design.
Many dripping faucets only need inexpensive replacement parts.
1️⃣0️⃣ Seal Around the Sink
Inspect the caulk where the sink meets the countertop.
Remove damaged caulk and apply a fresh bead of silicone sealant.
This helps prevent water from reaching the cabinet below.
1️⃣1️⃣ Restore the Water Supply
Slowly reopen the shutoff valves.
Check every repaired area while water flows through the system.
1️⃣2️⃣ Test the Entire Sink
Fill the sink with water and let it drain.
Run both hot and cold water.
Finally, inspect underneath the cabinet for leaks.
If everything stays dry, the repair is complete.
⚠️ Common Mistakes
- Forgetting to shut off the water
- Overtightening plastic fittings
- Reusing damaged gaskets
- Applying too little plumber’s putty
- Ignoring small leaks
- Failing to test the repair
- Using the wrong replacement parts
💡 Pro Tips
- Keep a flashlight under the sink for inspections.
- Replace old washers whenever plumbing is disassembled.
- Take photos before removing parts.
- Clean the cabinet after repairs to spot future leaks.
- Keep spare slip-joint washers available.
🔧 Troubleshooting
The sink still leaks.
Check for loose fittings and inspect the new seals.
The drain remains slow.
Remove additional debris or inspect for a blockage farther down the line.
The faucet still drips.
The cartridge or valve seat may need replacement.
Water leaks around the sink rim.
Replace the silicone seal between the sink and countertop.
👨🏻🔧 When to Call a Professional
Some problems require expert help.
Call a plumber if:
- Pipes are badly corroded.
- The sink cabinet has water damage.
- The leak is inside the wall.
- The drain repeatedly backs up.
- The sink installation has structural issues.
- Multiple plumbing fixtures have drainage problems.
❓ FAQ
How do I repair a kitchen sink that leaks underneath?
Inspect the drain assembly, P-trap, and supply lines for loose or damaged parts.
Can I repair a kitchen sink without replacing it?
Yes. Most leaks involve washers, gaskets, drain parts, or faucet components.
What is the most common kitchen sink repair?
Replacing worn drain seals and tightening loose plumbing connections are very common repairs.
How much does it cost to repair a kitchen sink?
DIY repairs often cost less than replacing the entire sink. The price depends on the damaged parts.
Why does my kitchen sink leak only when draining?
This usually indicates a problem with the drain assembly, P-trap, or slip-joint connections.
✅ Conclusion
Knowing how to repair a kitchen sink helps homeowners solve common plumbing problems before they become major repairs. Also, regular inspections and prompt maintenance can extend the life of the entire sink system.
A careful approach, the right tools, and quality replacement parts often make the repair straightforward.
👋🏼 Before You Go…
If this guide helped you learn how to repair a kitchen sink, save it for future reference and share it with friends or family who may face the same plumbing problem. Small repairs completed today can prevent expensive damage tomorrow.