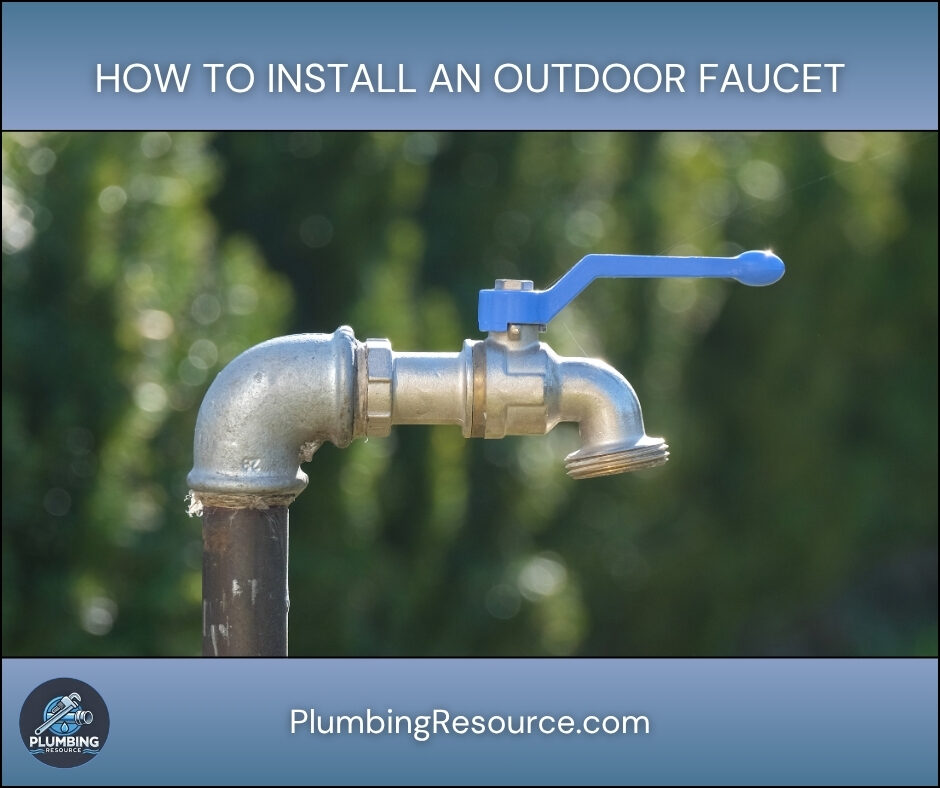
Installing an outdoor faucet gives you convenient access to water for gardening, washing vehicles, cleaning patios, and filling containers. However, if the installation is done incorrectly, leaks can develop inside the wall and create serious water damage over time. Therefore, understanding how to install an outdoor faucet the right way is extremely important.
This guide explains how to install an outdoor faucet step by step. In addition, it covers planning, pipe connections, mounting methods, freeze protection, and troubleshooting so you can complete the project with confidence.
🔍 Understanding the Project
An outdoor faucet, also called a hose bib or sillcock, provides exterior water access from your home’s plumbing system. Most outdoor faucets connect directly to a cold water supply line inside the wall, crawlspace, basement, or garage.
Proper installation matters because the faucet penetrates the exterior wall of the home. Consequently, a poor installation can allow water intrusion, pipe freezing, loose fittings, and hidden leaks behind siding or drywall.
Before starting, you should determine whether you need:
- A standard hose bib
- A frost-free faucet
- A threaded connection
- A soldered connection
- A PEX connection
- A CPVC connection
In colder climates, frost-free faucets are usually the best option because they reduce the risk of freezing pipes. However, they must slope slightly downward toward the exterior to drain correctly.
Common installation challenges include:
- Limited wall access
- Tight crawlspaces
- Working around insulation
- Drilling through brick or masonry
- Matching existing pipe materials
- Preventing exterior water intrusion
Therefore, planning the installation before cutting or drilling is critical.
🧰 Tools & Materials
- Outdoor faucet or frost-free sillcock
- Adjustable wrench
- Pipe wrench
- Drill
- Hole saw
- Screwdrivers
- Tape measure
- Pencil or marker
- Copper pipe cutter
- PEX cutter
- Hacksaw
- Deburring tool
- Emery cloth
- Teflon tape
- Pipe thread sealant
- Silicone exterior caulk
- Copper, PEX, PVC or CPVC fittings
- Pipe straps
- Ball shut-off valve
- Copper, PEX, PVC or CPVC pipe
- Push-to-connect fittings
- Safety glasses
- Gloves
- Bucket or towels
🛠️ Step-By-Step Guide: How To Install an Outdoor Faucet
1️⃣ Choose the Faucet Location
Select a location close to an accessible cold water line. Additionally, make sure the exterior area allows easy hose access.
Avoid placing the faucet directly above electrical panels, outlets, or HVAC equipment. Also, verify there are no studs, vents, or drain lines inside the wall where you plan to drill.
Most outdoor faucets are installed 12–18 inches above the ground.
2️⃣ Determine the Pipe Type
Identify the pipe material inside the home before purchasing fittings.
Common pipe materials include:
- Copper
- PEX
- CPVC
- Galvanized steel
This step matters because every pipe type requires different fittings and installation methods.
3️⃣ Shut Off the Water Supply
Turn off the main water supply before cutting into any plumbing line.
Next, open nearby faucets to relieve pressure from the system. In addition, place a bucket underneath the work area to catch any remaining water inside the pipes.
Always confirm the water is fully off before proceeding.
4️⃣ Drill the Wall Opening
Drill a small pilot hole first so you can verify the location from outside.
Then, use a properly sized hole saw to drill the final opening. Most outdoor faucets require a hole between 1 inch and 1¼ inches.
If you are drilling through brick or masonry, use a masonry bit and work slowly to avoid cracking the surface.
5️⃣ Install the Faucet Through the Wall
Insert the faucet through the wall opening from the exterior side.
If you are installing a frost-free faucet, angle it slightly downward toward the outside. This slope allows water to drain after use and helps prevent freezing.
Next, align the mounting flange flush against the siding or masonry.
6️⃣ Secure the Faucet
Fasten the faucet securely using exterior-grade screws.
Do not overtighten the screws because excessive pressure can crack siding or damage the mounting flange.
The faucet should feel solid and stable once mounted.
7️⃣ Cut Into the Water Line
Locate the cold water line that will feed the outdoor faucet.
Then, cut the pipe carefully using the correct cutting tool:
- Copper tubing cutter for copper
- PEX cutter for PEX
- Hacksaw or CPVC cutter for CPVC
After cutting the line, remove burrs or rough edges from the pipe.
8️⃣ Install a Tee Fitting
Install a tee fitting to branch off the existing cold water line.
For copper systems, you may solder the fitting or use push-to-connect fittings. For PEX systems, use crimp rings or clamp fittings. Meanwhile, CPVC systems require primer and solvent cement.
Ensure every connection is fully seated before moving forward.
9️⃣ Add an Interior Shut-Off Valve
Install a shut-off valve inside the home near the outdoor faucet line.
This valve allows you to isolate the faucet during repairs or winterization. In colder regions, this step is especially important.
Ball valves are preferred because they are reliable and easy to operate.
1️⃣0️⃣ Connect the Faucet to the Water Line
Connect the interior plumbing line to the faucet inlet.
Wrap threaded connections with Teflon tape before tightening them. Then, tighten the fittings carefully while supporting the faucet body to prevent twisting.
Avoid overtightening because threaded fittings can crack under excessive force.
1️⃣1️⃣ Support the Plumbing Line
Secure the new plumbing line with pipe straps or clamps.
Proper support reduces vibration and movement when hoses are attached or removed. Additionally, supported pipes are less likely to develop leaks over time.
1️⃣2️⃣ Seal Around the Faucet
Apply exterior-grade silicone caulk around the faucet flange.
This seal prevents rainwater, insects, and moisture from entering the wall cavity. However, avoid excessive caulk buildup because it can trap moisture behind siding.
1️⃣3️⃣ Turn the Water Back On
Slowly restore water pressure to the plumbing system.
Then, inspect every fitting and connection for leaks. Use a flashlight if necessary to inspect hidden joints inside crawlspaces or wall cavities.
Even a small drip should be corrected immediately.
1️⃣4️⃣ Test the Outdoor Faucet
Open the faucet fully and allow water to flow for several minutes.
Check for:
- Leaks inside the wall
- Dripping fittings
- Weak pressure
- Improper drainage
- Loose mounting
Finally, connect a hose and test the faucet under full operating pressure.
⚠️ Common Mistakes
- Installing a frost-free faucet without downward slope
- Forgetting to add an interior shut-off valve
- Using the wrong fittings for the pipe material
- Overtightening threaded fittings
- Failing to seal the wall penetration
- Leaving pipes unsupported
- Drilling into hidden wiring or plumbing
- Forgetting to disconnect hoses during winter
💡 Pro Tips
- Use a frost-free faucet in areas exposed to freezing temperatures.
- Install a vacuum breaker if local code requires backflow protection.
- Label the shut-off valve for future maintenance.
- Use push-to-connect fittings if you are uncomfortable soldering.
- Test for leaks before sealing access panels or wall openings.
- Add pipe insulation in unheated crawlspaces or garages.
🔧 Troubleshooting
Low Water Pressure
Check for partially closed valves or kinked supply lines. Additionally, inspect for debris inside the faucet.
Faucet Leaks Inside the Wall
Turn off the water immediately and inspect threaded connections or solder joints.
Water Does Not Drain From Frost-Free Faucet
Ensure the faucet slopes downward toward the exterior. Also, disconnect any attached hose.
Faucet Moves When Using a Hose
Tighten mounting screws and add additional pipe support inside the wall.
👨🏻🔧 When to Call a Professional
You should contact a licensed plumber if:
- You cannot access the water line safely
- The wall contains electrical wiring
- You need to solder copper pipe
- The installation involves masonry drilling
- The pipe layout is complicated
- You discover hidden leaks or water damage
- Local plumbing code requires permits
Professional installation may also be necessary for commercial buildings or multi-story homes.
❓ FAQ
How to install an outdoor faucet on a brick wall?
You must drill through the masonry using a masonry bit and anchors. In addition, use exterior-grade sealant around the penetration.
How to install an outdoor faucet without soldering?
You can use push-to-connect fittings or PEX connections instead of soldering copper pipe.
What is the best faucet for cold climates?
A frost-free faucet is usually the best option because it helps prevent frozen pipes.
Can I install an outdoor faucet from a crawlspace?
Yes. Crawlspaces often provide easy access to cold water lines for outdoor faucet installations.
Do I need a shut-off valve for an outdoor faucet?
Yes. An interior shut-off valve simplifies repairs and winterization.
✅ Conclusion
Learning how to install an outdoor faucet can improve convenience and add functionality to your home. However, careful planning and proper connections are critical for preventing leaks and freeze damage.
By following these steps, you can complete the installation confidently while creating a durable and reliable outdoor water source.
👋🏼 Before You Go…
If this guide helped you, save it for future reference and share it with someone planning an outdoor plumbing project. Additionally, check out our other plumbing tutorials for more step-by-step repair and installation guides.